1. 소개
Spring Boot를 백엔드로, React를 프론트엔드로 사용하여 SSE(Server-Sent Events)를 구현하는 방법을 알아보자. SSE는 서버가 클라이언트로 실시간 업데이트를 푸시할 수 있도록 하는 단방향 통신 방식이다. Java 1.8을 사용하여 Spring Boot 애플리케이션을 구축하고, React를 통해 프론트엔드를 구현해 보자.
2. SSE란 무엇인가?
SSE는 HTTP 프로토콜을 통해 서버에서 클라이언트로 실시간 이벤트를 전송할 수 있게 해주는 기술이다. 클라이언트는 이벤트 스트림을 열어두고 서버로부터 지속적인 업데이트를 받을 수 있다. 이는 채팅 애플리케이션, 실시간 알림 시스템 등 여러 실시간 애플리케이션에서 유용하게 사용된다.
우선 여기서는 아래와 같이 두 가지 방식을 구현해 볼 것이다.
- client(React) --> Server(Spring Boot)로 호출
- 서버를 호출하여 응답값을 event_stream으로 받는 방법
- client(React) --> 중계 Server(Spring Boot) --> Server(Spring Boot) 로 호출
- client에서 직접 Server를 직접 호출하지 않고 중계 Server를 통해 호출하는 방법을 알아 볼 것이다.
- 이 방식은 openAI 서버를 호출할 때 backend 서버를 통해 호출하는 방식으로 많이 사용할 것이다.
3. Spring Boot에서 SSE 구현
3.1 프로젝트 설정
Spring Initializr를 이용해 새로운 Spring Boot 프로젝트를 생성한다. 필요한 의존성은 다음과 같다.
<dependencies>
    <dependency>
        <groupId>org.springframework.boot</groupId>
        <artifactId>spring-boot-starter-web</artifactId>
    </dependency>
</dependencies>
3.2 컨트롤러 작성
SseController를 작성한다.
package com.example.controller;

import org.springframework.http.MediaType;
import org.springframework.web.bind.annotation.GetMapping;
import org.springframework.web.bind.annotation.RestController;
import org.springframework.web.servlet.mvc.method.annotation.SseEmitter;

import java.io.IOException;

@RestController
public class SseController {

    @CrossOrigin(origins = "http://localhost:5173") //  CORS 문제를 해결하기 위해 추가
    @GetMapping(value = "/sse", produces = MediaType.TEXT_EVENT_STREAM_VALUE)
    public SseEmitter streamSseMvc() throws Exception {
        SseEmitter emitter = new SseEmitter();

        // 새로운 Thread로 실행
        new Thread(() -> {
            try {
                for (int i = 0; i < 3; i++) {
                    emitter.send(SseEmitter.event().data("Hello " + System.currentTimeMillis()));
                    Thread.sleep(1000);  // 1초 대기
                }
                emitter.complete();
            } catch (IOException | InterruptedException e) {
                emitter.completeWithError(e);
            }
        }).start();

        return emitter;
    }
}
3.3 실행
http://localhost:8080/sse를 호출해보자.
HTTP/1.1 200
Content-Type: text/event-stream
Transfer-Encoding: chunked
Date: Sat, 27 Jul 2024 10:13:04 GMT
Keep-Alive: timeout=60
Connection: keep-alive

Response code: 200; Time: 105ms (105 ms)

data:Hello 1722075184617

data:Hello 1722075185622

data:Hello 1722075186626


Connection closed
위와 같이 결과가 1초 간격으로 내려오는 것을 확인할 수 있다. 응답값은 data:[content] 형식으로 내려온다.
4. React에서 SSE 구현
4.1 React 프로젝트 설정
vite를 통해 프로젝트를 생성한다. 프로젝트 이름은 sse-demo로 하였다.
npm create vite@latest4.2 React 컴포넌트 작성
function App() {
  const [messages, setMessages] = useState([]);

  const onClick = () => {
    const eventSource = new EventSource("http://localhost:8080/sse");

    eventSource.addEventListener("message", (event) => {
      setMessages((prevMessages) => [...prevMessages, event.data]);
    });

    eventSource.onerror = () => {
      eventSource.close(); //연결 끊기
    };
  };

  return (
    <>
      <button onClick={onClick}>click</button>
      <div className="App">
        <h1>Server-Sent Events</h1>
        <ul>
          {messages.map((msg, index) => (
            <li key={index}>{msg}</li>
          ))}
        </ul>
      </div>
    </>
  );
}

export default App;
4.3 실행
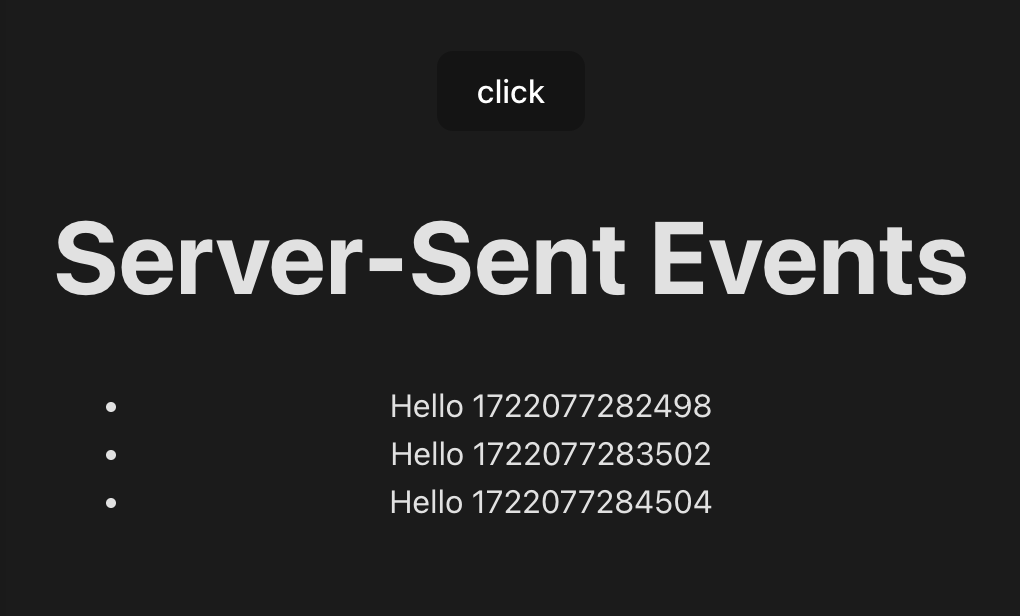
Click 버튼을 눌러 잘 실행되는지 확인하자.
아래와 같이 1초 단위로 Hello가 찍히는 것을 확인할 수 있다.
chrome 개발자 도구에서 확인을 해보자. 아래와 같이 EventStream을 잘 수신한 것을 확인할 수 있다.

5. 중계 서버를 경유하는 방법
중계 서버를 경유해서 SSE를 사용하는 방법은 여러가지 방법이 있을 수 있지만 여기서는 단순히 HTTPClient를 통해 호출을 해볼 것이다.
5.1 Spring Boot Controller 생성
우선 HttpClient 의존성을 pom.xml에 추가한다.
<dependency>
    <groupId>org.apache.httpcomponents</groupId>
    <artifactId>httpclient</artifactId>
</dependency>
SseController에 sseClient를 추가한다.
@CrossOrigin(origins = "http://localhost:5173")
@GetMapping(value = "/sseClient", produces = MediaType.TEXT_EVENT_STREAM_VALUE)
public void sendSSE(HttpServletResponse response) throws IOException {
    try (CloseableHttpClient httpClient = HttpClients.createDefault()) {
        // C 서버로 POST 요청 보내기
        HttpGet http = new HttpGet("http://localhost:8080/sse");
        http.setHeader("Content-Type", "application/json");

        response.setContentType("text/event-stream; charset=UTF-8");
        try (CloseableHttpResponse cServerResponse = httpClient.execute(http)) {
            response.setContentType("text/event-stream");
            try (PrintWriter writer = response.getWriter()) {
                String line;
                BufferedReader reader = new BufferedReader(new InputStreamReader(cServerResponse.getEntity().getContent(), StandardCharsets.UTF_8));
                while ((line = reader.readLine()) != null) {
                    System.out.println("line : " + line);
                    writer.println(line);
                    writer.flush();
                }
            }
        }
    } catch (IOException e) {
        response.setStatus(HttpServletResponse.SC_INTERNAL_SERVER_ERROR);
        response.getWriter().write("Internal server error");
    }
}
/sseClient의 컨트롤러를 생성하고 위에서 만든 /sse를 호출하는 방식이다. 호출한 응답값은 text/event-stream로 설정을 한다.
5.2 React 주소 변경
위에서 만든 EventSource 코드에서 호출 주소를 sseClient로 변경을 한다.
const eventSource = new EventSource("http://localhost:8080/sseClient");5.3 실행
실행을 해보면 4.3과 동일하게 실행되는 것을 확인할 수 있다.

